


Tesla glass replacement is a precise process requiring specialized techniques and materials to maintain structural integrity, aesthetic appeal, and seamless design integration. Using original equipment manufacturer (OEM) glass is recommended for perfect fit and compatibility with advanced safety features. Identify the component needing repair (windshield, side window, or rearview mirror), consider advanced glass technologies like laminated glass, and choose the right glass type for optimal visibility and durability. Installation demands precision, including proper frame alignment, use of specialized tools, adhesive, and hardware, followed by adherence to local regulations and consideration of professional assistance.
Considering a Tesla glass replacement for your Model 3, S, X, or Y? This comprehensive guide is designed to demystify the process and ensure you make informed choices. From understanding the basics of Tesla glass replacement to selecting the right type of glass for your vehicle, we’ve got you covered. Learn about essential considerations and follow our step-by-step installation guide for a seamless experience. Maximize your safety and enhance your driving pleasure with expert tips on Tesla glass replacement.
- Understanding Tesla Glass Replacement: What You Need to Know
- Choosing the Right Glass for Your Tesla Model 3, S, X, or Y
- Step-by-Step Guide to Installing a New Tesla Glass Panel
Understanding Tesla Glass Replacement: What You Need to Know

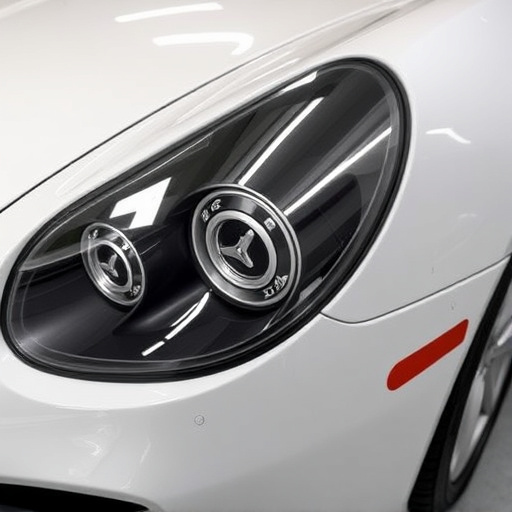
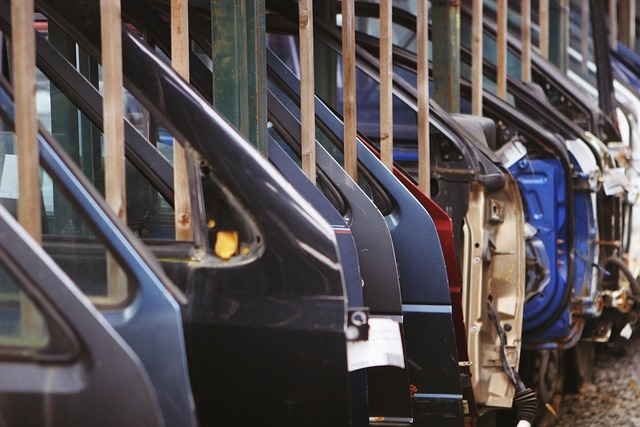
When it comes to Tesla glass replacement, understanding the process is crucial for any owner of a Model 3, S, X, or Y. It’s more than just swapping out a broken window; it involves specialized techniques and materials to maintain the vehicle’s structural integrity and aesthetic appeal. Tesla recommends using original equipment manufacturer (OEM) glass for replacements, ensuring a perfect fit and seamless integration with the car’s design.
Choosing the right service provider is key. Reputable shops offering Tesla glass replacement should have experience dealing specifically with these models, considering unique considerations such as frame alignment and advanced safety features. Unlike general automotive collision repair, Tesla glass work demands precision to avoid compromising the car’s advanced driver-assistance systems (ADAS) functionality. Proper installation ensures your vehicle not only looks as good as new but also remains safe on the road.
Choosing the Right Glass for Your Tesla Model 3, S, X, or Y
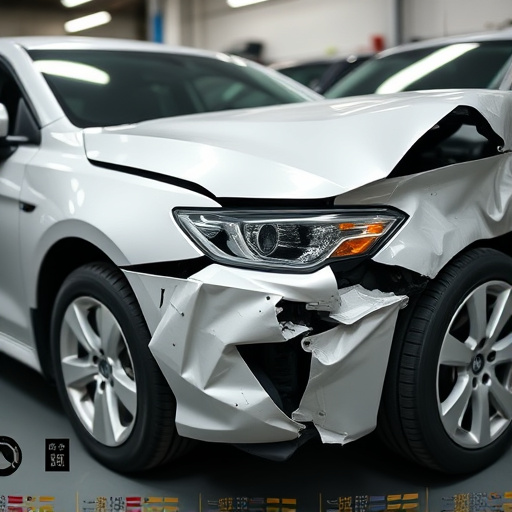
When considering Tesla glass replacement for your Model 3, S, X, or Y, it’s crucial to choose the right type of glass to ensure optimal performance and safety. The first step is identifying the specific glass component that needs replacing, whether it’s a windshield, side window, or rearview mirror. Each part has unique requirements, especially in terms of optical clarity and impact resistance. For instance, windshields must meet stringent safety standards to prevent shattering into small, non-injuring pieces during a collision.
Next, consider the materials. Tesla typically uses advanced glass technologies designed for enhanced visibility and durability. Many modern vehicles, including Teslas, employ laminated glass that consists of multiple layers bonded together. This construction significantly reduces the risk of shattered glass in case of a vehicle collision repair. Additionally, some models might feature heated glass or sunroofs, requiring specialized replacement parts to maintain these functions. Choosing the right glass not only ensures your Tesla’s original aesthetic but also plays a vital role in overall vehicle safety and functionality.
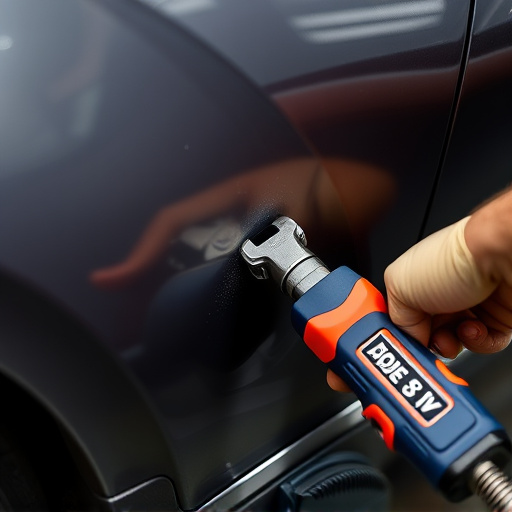
Step-by-Step Guide to Installing a New Tesla Glass Panel

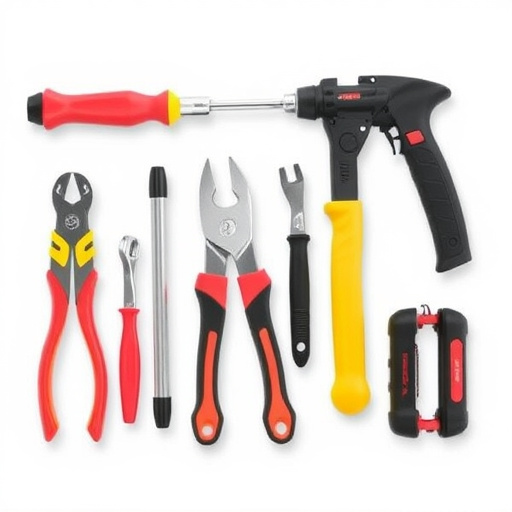
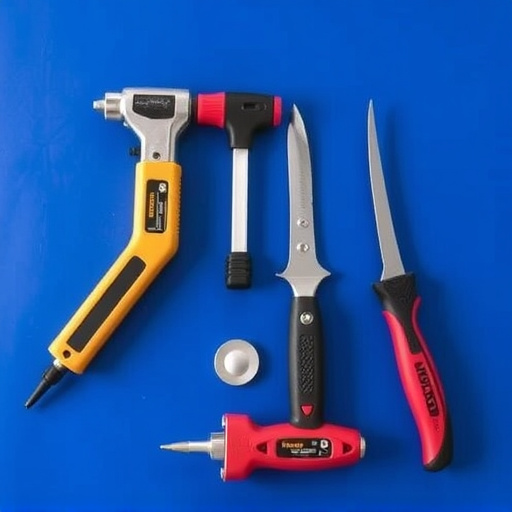
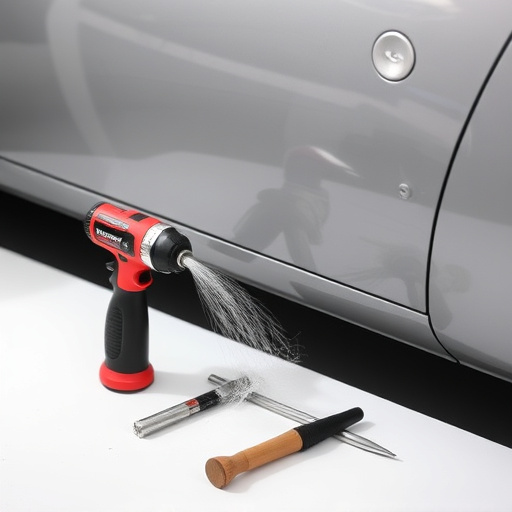
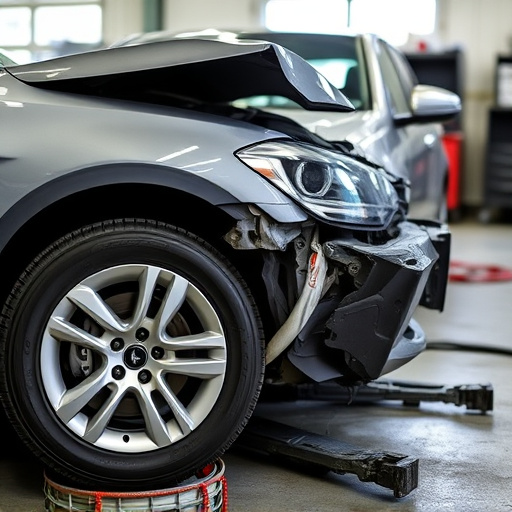
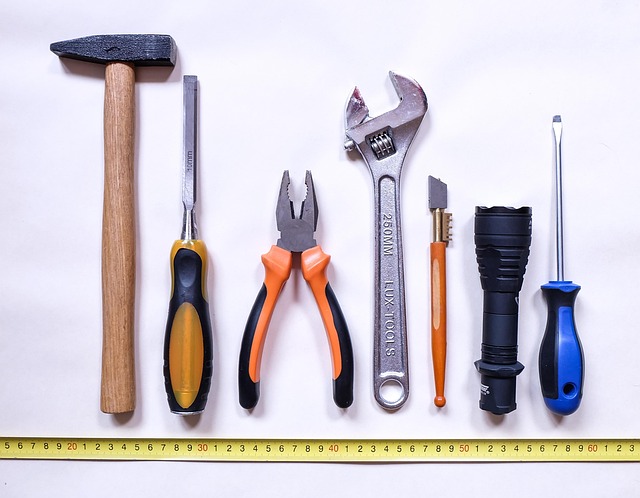
Installing a new Tesla glass panel is a process that requires precision and attention to detail. First, gather all necessary tools and materials, including the replacement glass panel, adhesive, and any hardware needed. Next, carefully remove the damaged or old glass by unfastening it from the vehicle’s frame using specialized tools designed for Tesla models. This step often involves careful frame straightening to ensure a seamless fit.
Once the old glass is removed, clean the area thoroughly to ensure optimal adhesion. Apply the adhesive along the edges of the new glass panel, ensuring even coverage. Fit the new glass into place, pressing firmly to activate the adhesive. Allow the adhesive to cure according to the manufacturer’s instructions before driving the vehicle again. Regularly checking local regulations and considering a professional car body shop for Tesla glass replacement is recommended for the best results and safety standards.
When it comes to Tesla glass replacement, understanding the process and choosing the right materials are key. By following our guide and selecting high-quality glass panels designed specifically for your Model 3, S, X, or Y, you can ensure a seamless installation that maintains your vehicle’s aesthetics and safety standards. Remember, proper fitment is crucial for both appearance and driving dynamics, so take your time and refer to the step-by-step guide for a successful DIY replacement or professional installation.